Are you interested about how long does eyebrow tinting last? Typically, it stays vibrant for 3 to 6 weeks, depending on factors like skin type, hair growth, and maintenance. Oily skin or frequent exposure to water can shorten its duration, while proper care extends the results. Avoid exfoliation, sun exposure, and oil-based products near your brows. Regular touch-ups every 4 to 6 weeks keep them looking bold and well-defined.
Eyebrow tinting costs range from $20 to $40 per session, with additional services like waxing raising the total to around $75. Combining tinting with eyebrow lamination can cost $80 to $130. Results last 3 to 8 weeks, depending on skin type, sun exposure, and care. Always opt for a licensed professional to ensure safety and quality.
Perfect for those seeking low-maintenance beauty, eyebrow tinting saves time while enhancing your natural look.
At Beauty Box, we specialize in long-lasting, natural-looking tints tailored to your needs. With proper aftercare, you can enjoy bold, defined brows without daily effort. Check out our services to get the perfect brows!
Learn expert tips on how long does eyebrow tinting last and prolong with maintaining flawless brows effortlessly!
What Is Eyebrow Tinting?

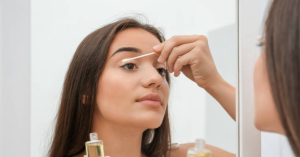
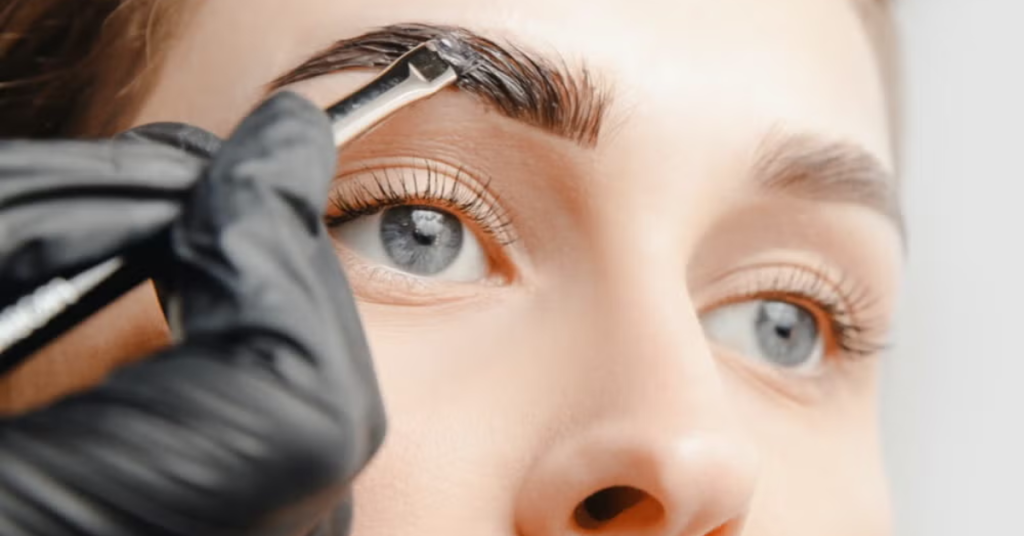
Eyebrow tinting is a cosmetic procedure that enhances the visual appearance of your eyebrows through the application of a semi-permanent dye. This treatment is particularly beneficial for individuals with light-colored, sparse, or patchy eyebrows, but it is widely used by anyone seeking more defined and fuller-looking brows.
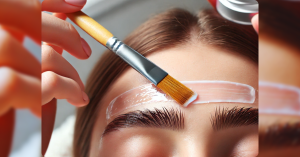
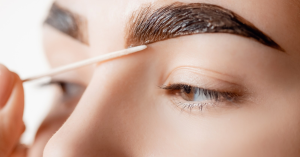
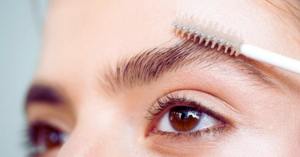
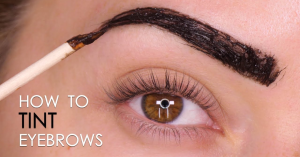
The process involves a careful application of safe, specially formulated dyes intended for use on facial hair. A professional beautician first cleans the eyebrow area to remove oils and makeup, ensuring the dye adheres properly. The dye is then applied to match or deepen the natural color of the brows, filling in lighter areas to create an even, cohesive look. The application typically takes about 10 to 15 minutes, during which the dye sets into the hairs.
The results of eyebrow tinting are immediate and can last between three to six weeks, depending on hair growth and care routines. Tinted eyebrows require little to no daily maintenance, which makes this treatment a convenient option for enhancing facial features. It eliminates the need for daily eyebrow makeup, offering a natural-looking enhancement that accentuates the eyes and improves overall facial symmetry.
Difference Between Brow Tint and Brow Lamination
| Feature | Brow Tint | Brow Lamination |
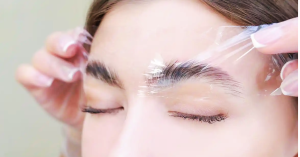
| Definition | Semi-permanent dye applied to enhance color. | Chemical treatment to lift and shape brow hairs. |
| Purpose | Adds color for a fuller, darker look. | Tames and reshapes brows for a polished look. |
| Longevity | Lasts 3–6 weeks. | Lasts 6–8 weeks. |
| Effect | Darkens brow hairs and may stain the skin. | Creates a lifted, sleek, and uniform appearance. |
| Time for Procedure | 15–20 minutes. | 30–45 minutes. |
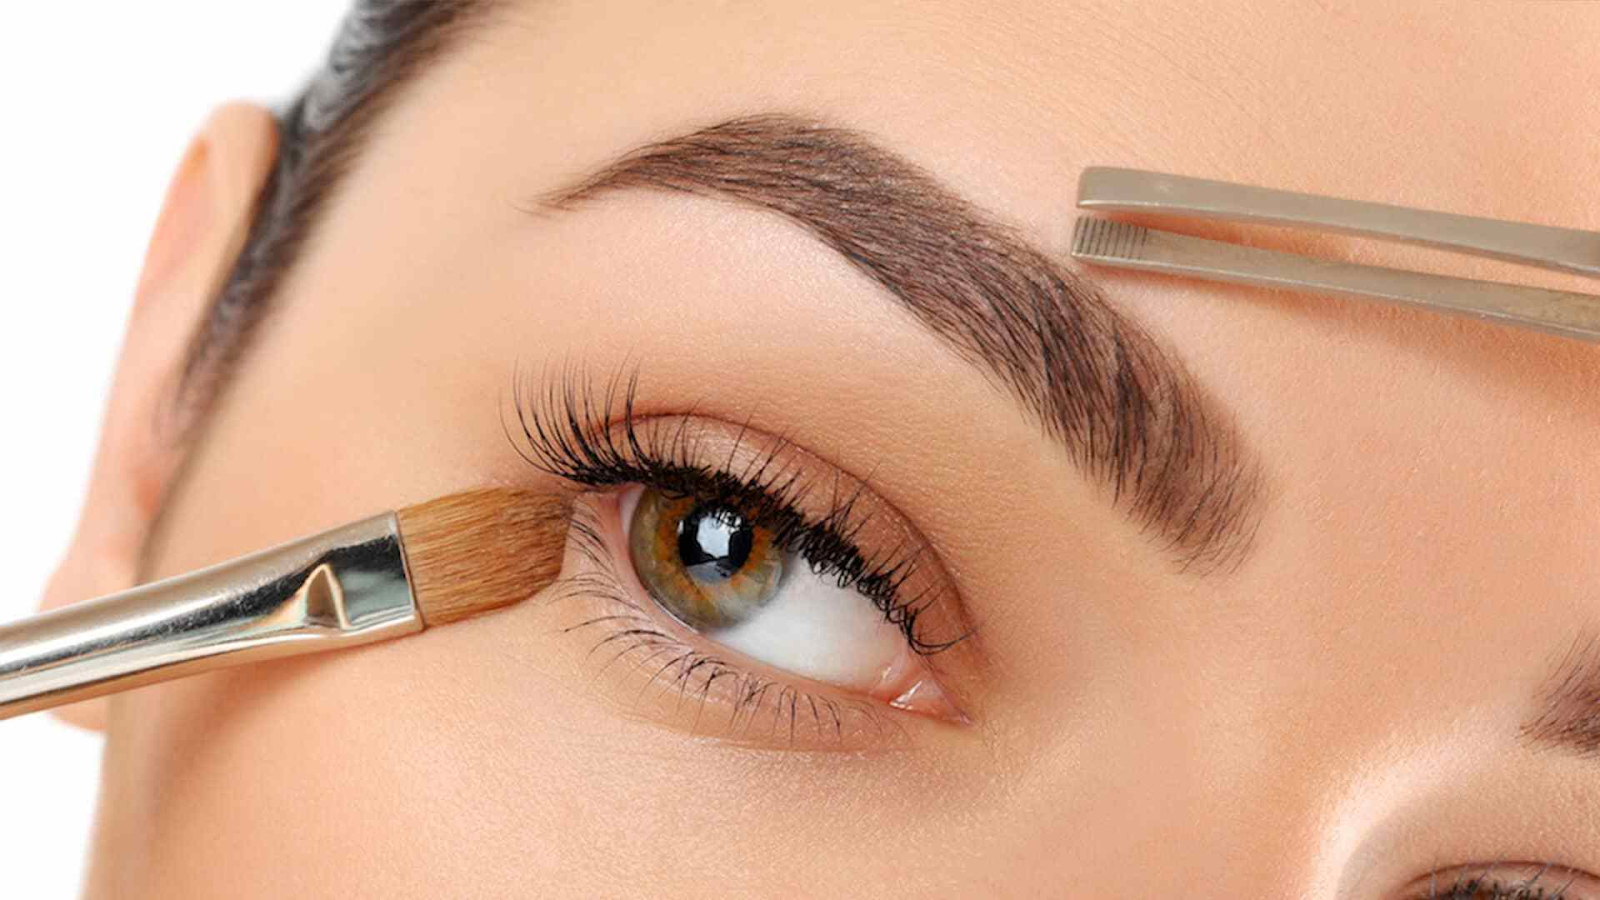
Why People Choose to Tint?
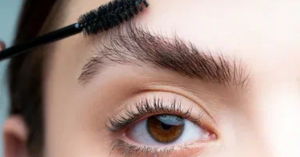
People select to tint their eyebrows for a fuller, more defined look without the need for daily makeup. Eyebrow tinting enhances the natural shape and color of the brows, making them appear thicker and more polished. It’s a time-saving solution for busy individuals and a great option for those with light, sparse, or uneven brows. Tinting offers a temporary but noticeable transformation, typically lasting 3–6 weeks. It’s a cost-effective and non-invasive way to frame the face, boosting confidence and simplifying beauty routines. This quick procedure is popular for its convenience and ability to create a polished, natural appearance.
Pros and Cons of Eyebrow Tinting
Pros
- Enhanced Definition: Tinting gives your brows a fuller, more defined look without the need for makeup.
- Time-Saving: Reduces daily makeup routines, as brows stay perfectly tinted for weeks.
- Customizable Shades: The tint can be tailored to match your hair color and style preferences.
- Natural Look: Provides a polished, natural appearance by darkening lighter or sparse hairs.
- Temporary Commitment: Lasts 3–6 weeks, making it a non-permanent solution for eyebrow enhancement.
- Cost-Effective: Offers a budget-friendly alternative to more permanent options like microblading.
- Boosts Confidence: Well-defined brows frame the face, enhancing overall facial features.
- Enhanced Appearance: Creates fuller, more defined brows.
- Quick Procedure: Takes only 15–20 minutes for noticeable results.
Cons
- Temporary Results: Requires regular touch-ups every 4–6 weeks.
- Potential Allergic Reactions: Dye may irritate sensitive skin or cause allergies.
- Fading Issues: Sun exposure, water, or skincare products can fade the tint quickly.
- Limited Effectiveness for Sparse Brows: May not fill in gaps as well as microblading.
- DIY Risks: At-home tinting can result in uneven application or skin staining..
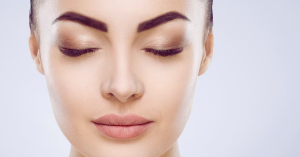
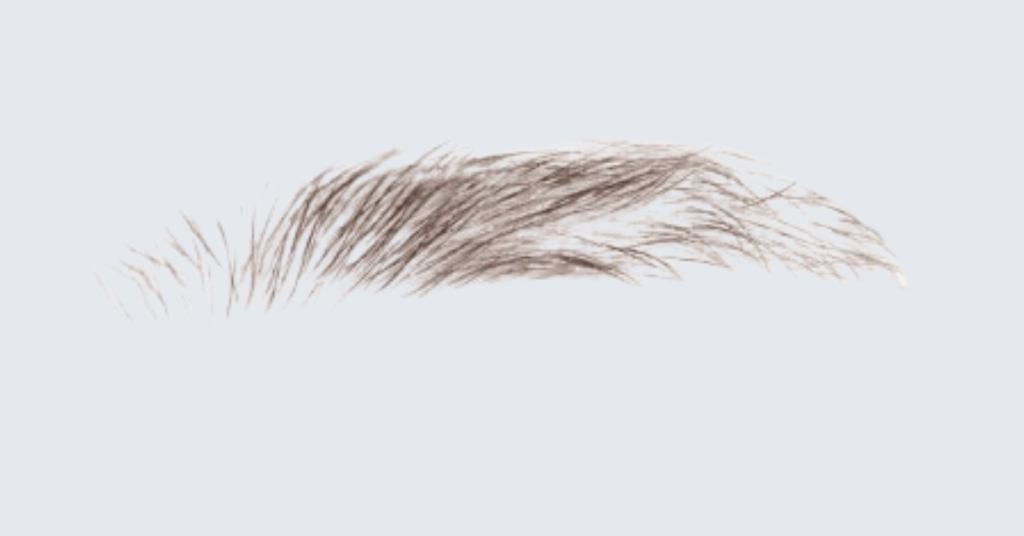
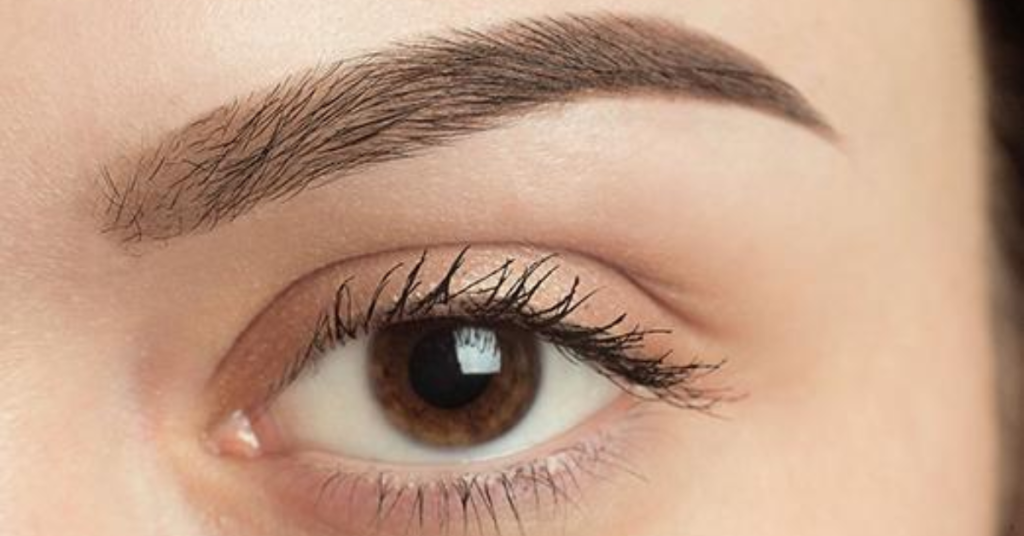
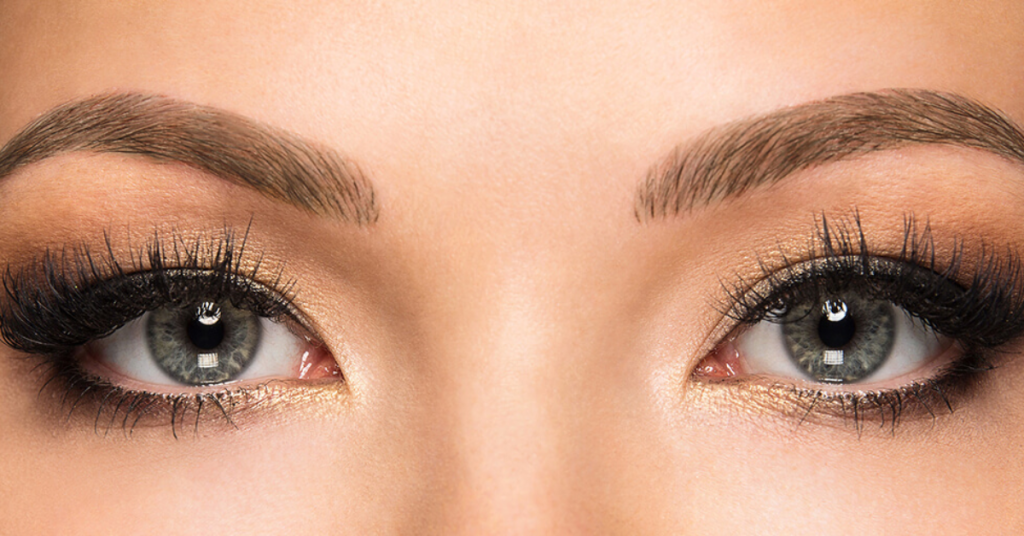
Eyebrow Tint Before and After
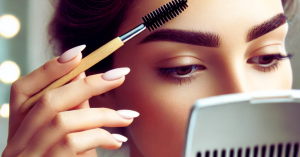
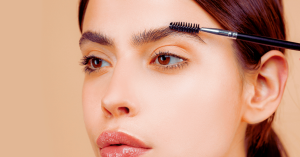
Before eyebrow tinting, brows may appear light, sparse, or uneven. After tinting, they become fuller, darker, and more defined, enhancing facial features and lasting for 3–6 weeks with proper care.

How Long Does Eyebrow Tinting Typically Last?
Eyebrow tinting usually lasts between 3 to 6 weeks, depending on a few factors. The dye gradually fades as your eyebrow hairs grow out or shed naturally. Your skin type also plays a role – oily skin can cause the tint to fade faster. Frequent washing of your face or exposure to sunlight can shorten its lifespan as well. Proper aftercare, like avoiding harsh cleansers and using gentle products, can help your tint last longer. On average, most people notice the color staying vibrant for the first couple of weeks before it starts to fade, requiring touch-ups to maintain the look.
Factors That Affect Eyebrow Tint Longevity
If you pair eyebrow tinting with a brow lamination, the results may last a bit longer. However, the duration can vary for each individual. Let’s explore the key factors that influence how long does eyebrow tinting last.
Dye Type

The type of dye used significantly affects how long does eyebrow tinting last. Vegetable-based dyes are natural and gentle, making them ideal for sensitive skin, but they typically last only 2–4 weeks. On the other hand, chemical-based dyes are more durable, offering a longer-lasting effect of 4–6 weeks. These penetrate deeper into the hair shaft, providing a richer color. The selection of dye also depends on individual preferences, skin type, and hair texture. Those seeking a natural look with minimal risk may opt for vegetable dyes, while chemical-based options are preferred for their longevity and vibrant results.
Skin Type
Skin type affects how long an eyebrow tint lasts. Oily skin causes the tint to fade faster because natural oils break down the dye, usually lasting about 2–3 weeks. Dry or normal skin holds the tint longer, often up to 4–6 weeks, as there’s less oil to interfere. For sensitive skin, it’s important to use gentle, hypoallergenic dyes to avoid irritation, and a patch test is highly recommended. If you have combination skin, the tint may last differently on oily and dry areas. Knowing your skin type helps you select the right tint and ensures better, longer-lasting results.
Eyebrow Hair Type
Eyebrow hair type plays a big role in how long tinting lasts and how it looks. Thick or coarse eyebrow hairs tend to hold tint better and longer because they absorb the dye more effectively. The color appears richer and can last up to 4–6 weeks. In contrast, fine or thin eyebrow hairs may not absorb the tint as deeply, so the color might fade faster, usually within 2–4 weeks. The natural color of your eyebrows also matters; lighter brows may require more frequent touch-ups to keep the tint noticeable. Additionally, if your brow hairs are sparse, the tint might stain the skin beneath for a fuller look, but this effect fades faster than on the hair itself.
Sun Exposure
Sun exposure can cause eyebrow tints to fade faster. UV rays break down the dye pigments, reducing their longevity. Frequent outdoor activities or prolonged sun exposure can lighten the tint within weeks. To protect your brows, wear a hat or use sunscreen on the area around your brows, ensuring it’s non-oily to avoid interfering with the tint.
Hair Texture
Hair texture affects how long eyebrow tints last. Thicker, coarser hairs hold the tint better, making the color last longer and look richer, often up to 4–6 weeks. Finer or thinner hairs absorb less dye, so the tint may fade faster, typically within 2–4 weeks. Knowing your hair texture helps in setting realistic expectations for tint longevity.
Aftercare Practices
Proper aftercare is key to making eyebrow tints last longer. Avoid washing your brows for 24 hours after tinting to let the dye set fully. Use gentle, oil-free cleansers around the area, as oil-based products can fade the tint faster. Avoid rubbing or scrubbing your brows, and limit exposure to sun, chlorine, or excessive sweating. Following these practices can help maintain vibrant, long-lasting tinted brows for up to 4–6 weeks.
Application Technique
The application technique greatly affects the quality and longevity of an eyebrow tint. Properly cleaning the brows before applying the tint ensures better adhesion by removing oils and residue. The tint should be applied evenly, covering all hairs for consistent color. Allowing the tint to process for the recommended time helps achieve a deeper, longer-lasting shade. Finally, carefully removing the tint without rubbing ensures the results are intact. A skilled application can enhance both durability and appearance.
Average Duration of Brow Tint
Brow tints typically last 3–6 weeks, depending on dye type, skin type, and care. Chemical-based tints last longer than vegetable-based ones. Proper aftercare, like avoiding oils and sun exposure, helps extend the tint’s vibrancy and longevity.
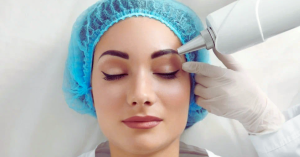
For longer-lasting results, consider microblading, also known as permanent eyebrow makeup. This technique creates natural, semi-permanent brows that can last up to two years with proper care. It’s an ideal option for those seeking low-maintenance, defined eyebrows without the need for frequent tinting or touch-ups, offering a polished look over an extended period.
Do’s and Don’ts After Eyebrow Tinting
| Do’s | Don’ts |
| Keep brows dry for 24 hours. | Avoid washing or scrubbing brows. |
| Use gentle, oil-free cleansers. | Don’t use oil-based products. |
| Apply sunscreen to protect tint. | Avoid excessive sun exposure. |
| Brush brows gently to shape them. | Don’t rub or touch brows excessively. |
| Schedule touch-ups every 4–6 weeks. | Avoid chlorine or saltwater pools. |
| Follow your technician’s advice. | Don’t exfoliate or use harsh products. |
| Use a hydrating brow gel to maintain the tint. | Don’t pick or scratch at your brows. |
| Apply sunscreen around the brows. | Avoid excessive sun exposure or tanning beds. |
Which Eyebrow Tint Lasts The Longest?
The longest-lasting eyebrow tint is chemical-based tint, which can last 4–6 weeks. It penetrates the hair shaft deeply, making it more durable. Henna tints also last long, with color staying on hair for 2–4 weeks and staining the skin for about 1–2 weeks for a fuller look. Vegetable-based tints are gentler but fade faster, lasting around 2–3 weeks. Proper aftercare helps extend the lifespan of any eyebrow tint.
Final Thoughts
In conclusion, eyebrow tinting is an excellent choice for achieving beautifully defined, fuller-looking brows without the need for daily makeup. With proper care, the tint can last between 3–6 weeks, influenced by factors like your skin type, hair growth cycle, and aftercare practices. Using high-quality dye and following tips like avoiding oils, excessive sun exposure, and water contact can help extend the tint’s longevity. While eyebrow tinting is generally safe, a patch test is crucial to ensure compatibility with your skin.
If you’re considering a semi-permanent solution to enhance your brows, tinting is quick, affordable, and non-invasive. For a professional, long-lasting eyebrow tinting experience, visit Beauty Box today.
If you’re seeking even more permanent results, microblading is also a great option to explore.
Have you tried eyebrow tinting before, or are you considering it for your beauty routine?
Frequently Asked Questions About Eyebrow Tinting
Q: Can I Tint My Eyebrows at Home?
Answer: Yes, you can tint your eyebrows at home using an eyebrow tinting kit designed for safe, at-home use. Follow the instructions carefully, perform a patch test to avoid allergic reactions, and clean your brows before application. Use a precise applicator to apply the tint evenly, and wipe off excess immediately. While it’s cost-effective and convenient, beginners may prefer professional tinting to ensure even and safe results.
Q: How Often Can I Re-tint My Eyebrows?
Answer: You can re-tint your eyebrows every 4–6 weeks, depending on how quickly the tint fades and your hair growth cycle. As the tinted hairs shed and new ones grow in, the color may lighten, requiring a touch-up. Avoid re-tinting too often, as overexposure to dye can irritate the skin and weaken brow hairs. Following this schedule helps maintain vibrant, healthy, and evenly tinted brows.
Q: Is Eyebrow Tinting Safe for Everyone?
Answer: Eyebrow tinting is generally safe but not suitable for everyone. A patch test is essential 24–48 hours before tinting to check for allergic reactions. Those with sensitive skin, eczema, psoriasis, or open wounds around the brows should avoid tinting to prevent irritation. Pregnant individuals should consult a doctor due to possible reactions to chemicals. People with allergies to hair dyes or ingredients like PPD (paraphenylenediamine) should avoid the procedure. Additionally, individuals prone to eye infections or those wearing contact lenses during tinting should take extra precautions. For the safest results, seek professional services and disclose any skin or health concerns beforehand.
Q: What skincare can I use after eyebrow tinting?
Answer: After eyebrow tinting, use oil-free cleansers to gently clean your face without fading the tint. Apply a water-based moisturizer to keep the skin hydrated, and protect your brows with a non-oily sunscreen. Avoid oil-based products, exfoliants, or retinol near your brows, as they can break down the dye. Stick to gentle, non-irritating skin care to preserve the tint and keep your eyebrows looking vibrant for longer.
Q: Can You Get Eyebrow Tint When Pregnant?
Answer: Yes, you can get eyebrow tinting when pregnant, but precautions are essential. Pregnancy can make skin more sensitive, increasing the risk of irritation or allergic reactions. Perform a patch test at least 24–48 hours before the procedure, even if you’ve tinted before. Opt for gentle, vegetable-based tints free from harsh chemicals like ammonia or PPD. Avoid tinting during the first trimester as a precaution. Always consult your doctor or a professional technician for personalized advice to ensure safety for both you and your baby.